Starting a project and adding a BSP
Starting a project and adding a BSP
 So you want to start creating your own projects in unreal. A good amount of games you play today are started here and it is a great place to being your journey to creating games. I have a good amount of experience in unreal and I will teach you how to create your own project and get started with some basic map layouts.
Starting a new project

How to start greyboxing
 When your game opens, depending on what you chose for your template there may already be a small premade level. That is perfectly fine we you just ignore that for now. To start your greyboxing towards the bottom left hand side of your screen there will be a green button that says "add new". Click that button and then select new level. You can name this whatever you would like and then double click the level. Now you should have a blank screen and you can start greyboxing. notice towards the left hand side of your screen there will be many options such as recently placed, basic, and lighting. A little further down in that list there will be something called geometry you want to click that in order to start placing shapes onto your world.
 Start of greyboxing
 From here you can start dragging whatever shapes you like into the black screen on your left and they will appear and you can start morphing them in ways that fit your map design. There are a couple different specifics that you need to know for basic grey boxing though. First on the top left of your black screen you will see a option that says lit or unlit. For right now you should change this to unlit because you do not have any lighting at this point and this will allow you to see your shapes clearly. When you add lighting you should change it to unlit to see how everything looks with the lighting you applied. Now on the top right of the black screen you will see many different options. the first three allow you to change from moving, rotating, and scaling your shape in that order. Then alittle bit over you will see a grid and angle with numbers next to them that have drop downs. Those are there to adjust how many units your shape will move or scale and rotate at one time in that order. you can change this number to practically anything but 10 usually is a good number. Last but not least if you have specific numbers in mind for scaling objects you can click the object and on the right hand side you can see something called brush settings and you can manual input the units for the size of your object. If you wanted to go a little further and start taking certain parts out of your shape you can scroll a bit down on the right and find the drop down that says addition and change it to subtract. Everything else is the same from there.
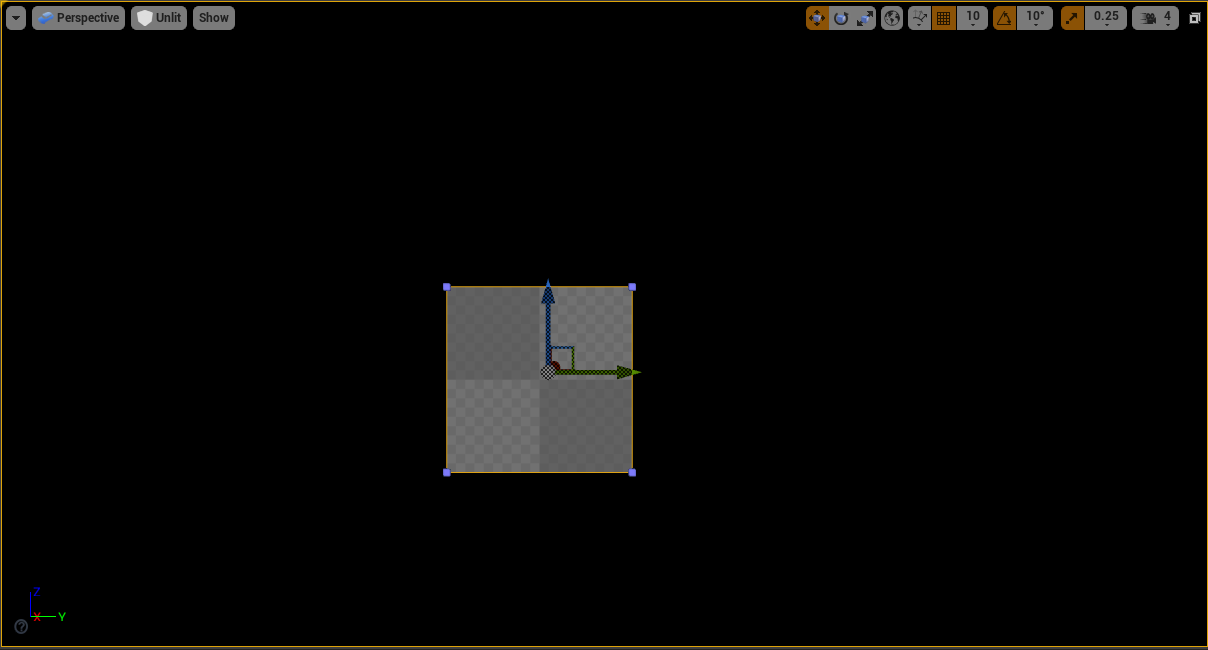
Now that you have some of the basics down to grey box start experimenting and see what cool things you can make. Greyboxing in video game development is mostly used to maps and levels, but you can make whatever you desire and turn it into a game level.


Comments
Post a Comment